Mission: To Build a Cheap Mini Quadcopter
I've now built a few different RC planes and enjoyed doing so. I've never really given a thought to anything else - until now!
So for the moment my attention has turned to two other RC vehicles, a high speed boat and a; mission to build my first (cheap) mini quad copter. In the next few posts I will share my experiences, including disasters.
First of all I started to trawl Youtube to find what looked like a good quadcopter. Eventually I came across this video which looked great! and decided on building my first ever Mini Quad. Also, I watched some of Bruce's videos (rcmodelreviews.com) and got some further ideas.
After sometime searching I had figured out what components were needed. The list comprised of:
- KK 2.1 flight controller
- Diatone frame (similar to QAV250/ cheap copy)
- 4x Turnigy Multistar 10 Amp Multi-rotor Brushless ESCs
- Wire, XT60 Connectors
- 4x 1804-2400Kv ZMR Motors (RSX copies as far as I can see)
- Orange 620 RX receiver
- Zip ties
- Loads of little 2mm bullet connectors
- Some male to male 10cm servo leads
- 4x Props
Next I needed to purchase each part as cheaply as possible, so I turned to ebay and those lovely chinese sellers.
With each part I compared its price (including delivery) to eBay,Amazon and Hobbyking. I became lucky as Hobbyking where running a Super Sale which enabled me to purchase the KK controller board,frame and receiver at a reduced price, the rest was purchased from the following places.
- KK2.1 flight controller (Hobbyking £11.96)
- Diatone frame (Hobbyking £9.96)
- Turnigy Multistar 10 Amp Multi-rotor Brushless ESC (Hobbyking £4.42 each)
- 1m Wire, Nylon XT60 Connectors Male/Female (5 pairs)(Hobbyking £0.98p,£2.42)
- 4x CW and CCW 1804-2400Kv ZMR Motors (eBay somewhere in China.. £25.16)
- Orange 620 RX receiver (Hobbyking £5.97)
- Zip ties (Cheap £1 shop)
- 2mm Gold Bullet Connectors 10 Pairs - Male Female Plug Socket with heatshrink (eBay, China ;) £3.88)
- 10x male to male 10cm servo leads (eBay UK, needed fast delivery so cost more.. £4.49)
- 5030 Props CW/CCW 50*3 Multi-Copter 2Pairs (eBay somewhere in China.. £2.65)
With everything ordered it was just a waiting game for it to arrive. The orders from China took about 3 weeks, Hobbyking took about 4 weeks as it was from there global store! The total cost for my quadcopter was £72 - give or take £10 for delivery as the Hobbyking orders where split, I had ordered some other items in there Super Sale.
- Details
- Category: How to
Mission: To Build a Cheap Mini Quadcopter
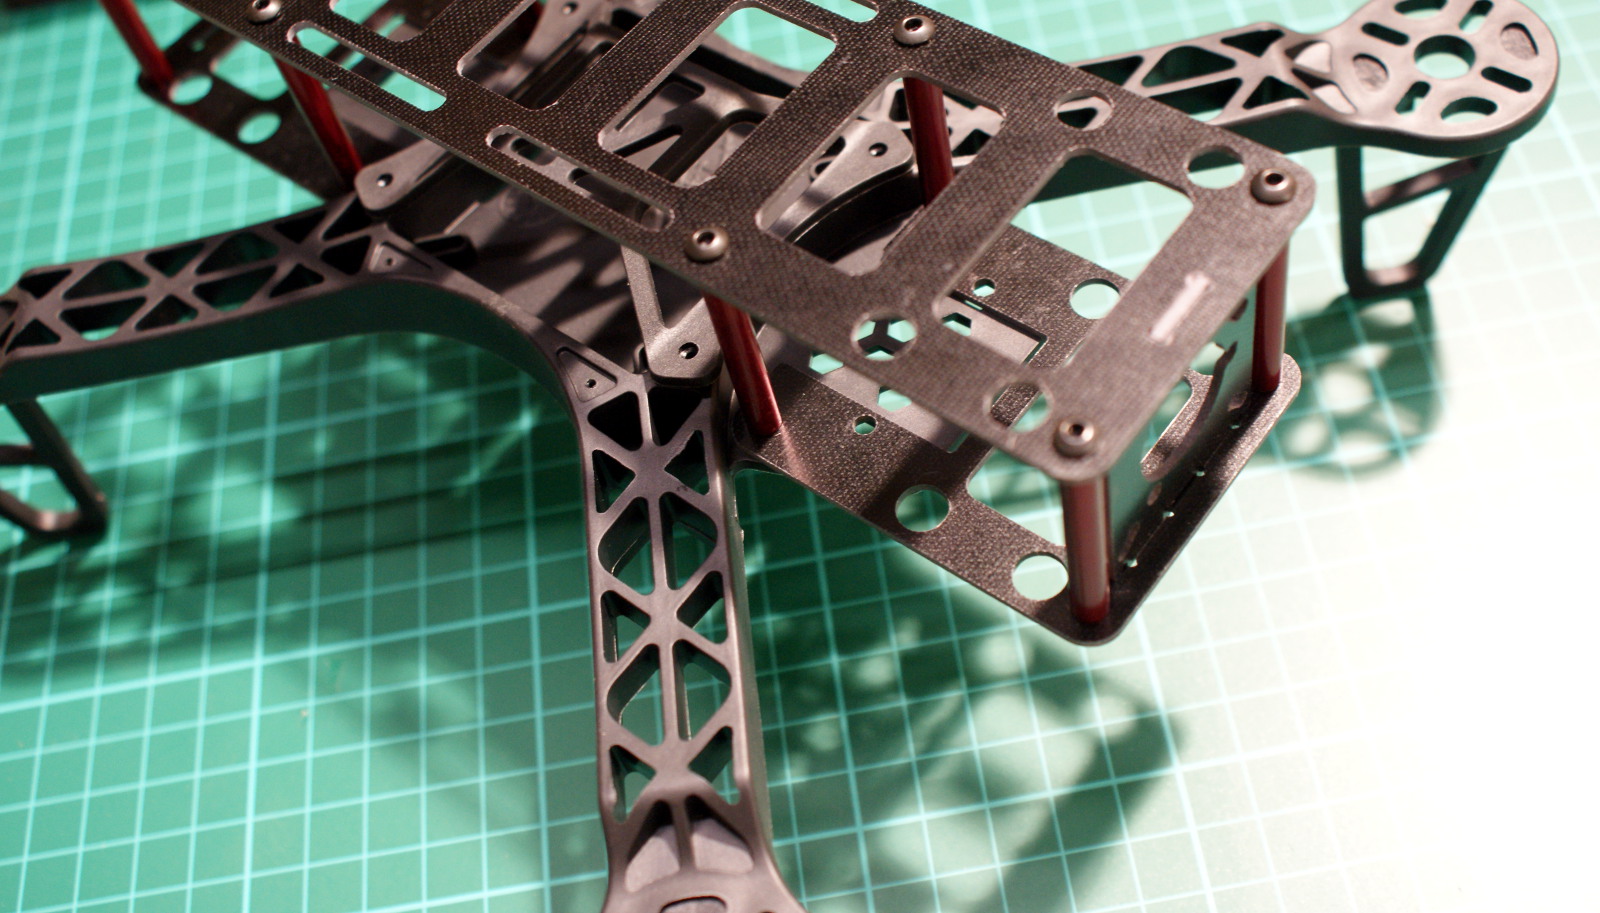
Finally I was ready to move on with building the quad copter. Having never built a quad before I wasn't sure how the parts would go together. First I started to build the frame, after opening the packet I thought some parts were missing! I soon realized that the lower section of the cage is in two parts, in all the photos I had seen it looks like one part. The frame seems quite configurable, you can either use the cage on the top or have it hung down on the bottom side, alternatively you can not bother fitting the cage at all and just use the small plastic cover to go over the controller board. I had chosen to mount the cage on the top side so I could hang a mini FPV camera from the underside and have space for an HD camera within the cage.
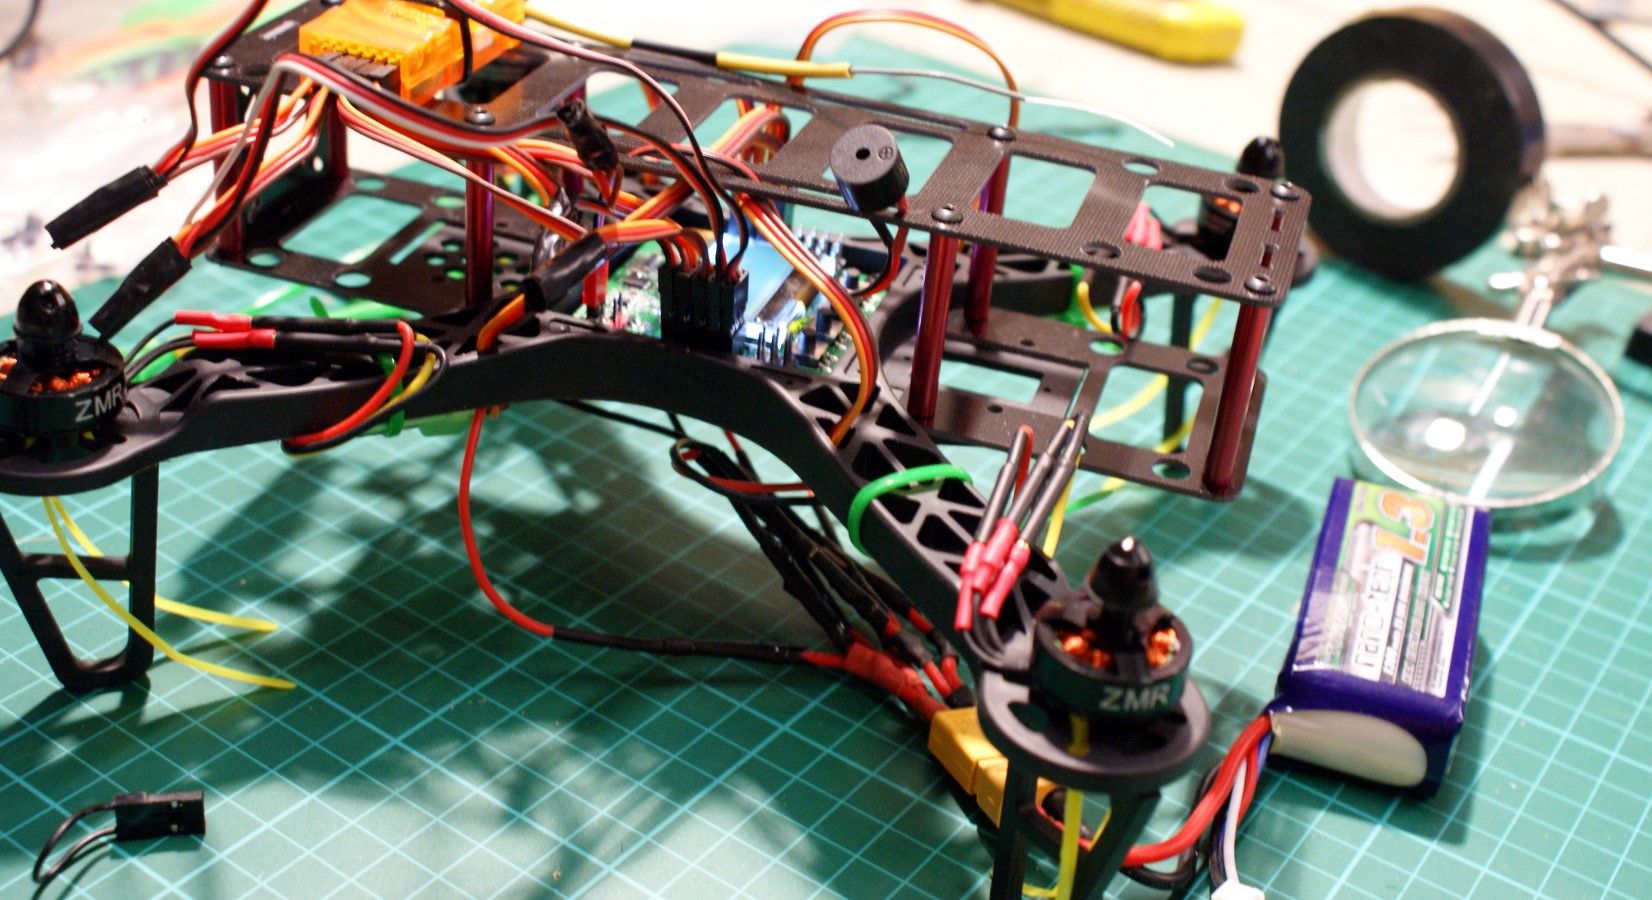
With the frame completed I moved onto the next problem, attaching the motors. Looking on Google images people seemed to of come up with lots of different ideas. I decided to zip tie each motor into place, this seemed to gave a nice firm fit. Next the most important part, adding the KK controller. At first I could not see how to fix it in place, I knew people had glued it in, or used double sided tape but I wanted to be able to remove it easily, so after looking at the frame carefully I noticed 4 small slits in the plastic that are there for you to tap some screws into. So I put a small peace of foam padding on the back of each corner and then screwed the board into place. Now I needed to add the ESC,s which was fairly easy. I just zip tied each one tidily onto each one of the arms, job done!
Now, I was not sure how to power up the KK controller and each one of the four ESC,s. I turned to YouTube to find out what I needed to do. After going off track and watching a whole load of stuff I had worked out how I was going to make my power wiring loom (pictured here). After an hour and a half of chopping and soldering I was finished. Unfortunately it didn't turn out like I originally planned, but it did test fine so I temporarily attached all the ESC power leads. Finally the last part to add was the Orange RX620 receiver which was temporarily zip tied onto the top of the frame. The basic quad was now complete, the only thing left was to setup the KK board. I've found this useful video "KK2.0 initial setup" which was a great help to a newbie like me. With the initial build finished I took the quad on its maiden test flight. See the videos below.
Diatone FPV250 Quad Copter (First Test Flight)
FPV250 Quad Copter (First Test with Camera On-board!)
- Details
- Category: How to
Mission: To Build a Cheap Quadcopter.
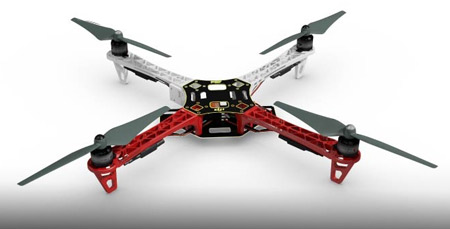
Like a DJI Flame Wheel F450!
Welcome to Matts guide on how to build a quadcopter. Have you ever wondered "How do you build a quadcopter" .... over the next few pages I will guide you through the necessary steps to make your very own quad.
I'm going to make a copy of a multirotor which is much loved by ariel photographers, the DJI flame wheel F450. It's 450cm in size and capable of carrying a GoPro camera mounted using a gimbal.
DJI F450 Quad copter - available in kit form.
Back last year I started a quadcopter project to build a cheap Mini Quad, so if you want to know how to build a smaller mini quad see this article here. These smaller quads tend to be used for racing, FPV or acrobatics.
So this is Matts guide on how to build a quad. I will try and explain the process I went through, but if you've got any questions please don't hesitate - just send me over an email to "info@howtogizmo.uk" or add a comment at the bottom of the page, I will try answer the best I can...
Right, what do you need and what do you need to buy? The parts list.
If you don't already own a transmitter (hand controller) you will need to purchase one or borrow one. Other items you will need access too are; solder and a soldering iron,suitable wire, some XT60 connectors, heat shrink, insulation/electrical tape.
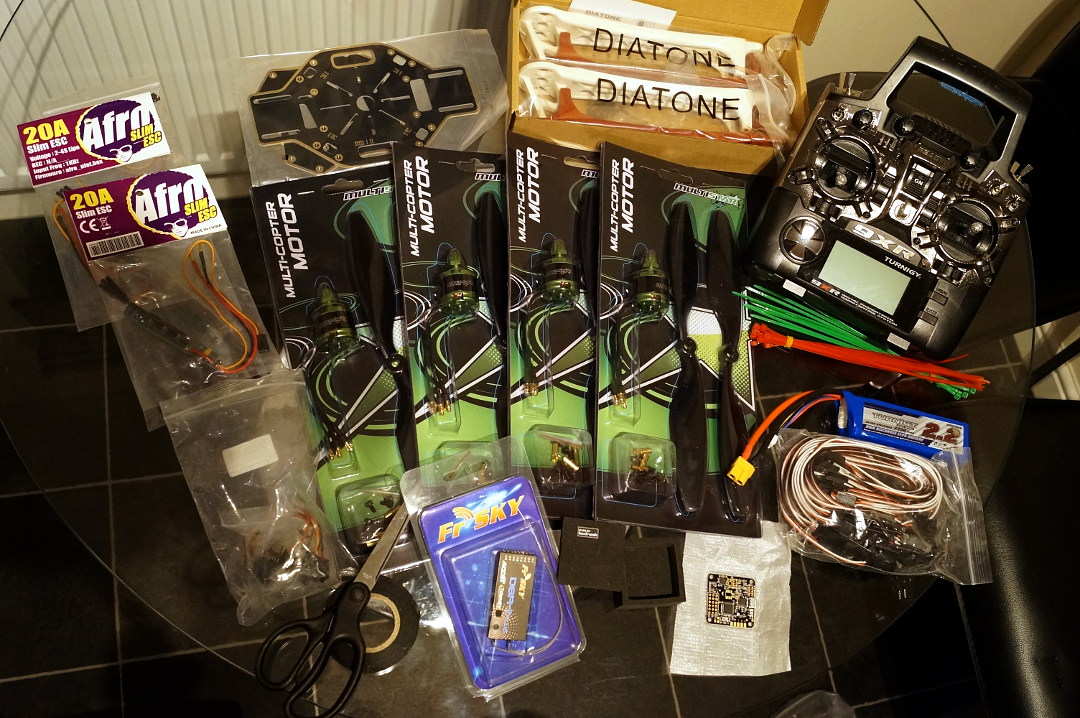
This Quad copter is made up from the following parts.
- A Frame, the Diatone Q450 v3(similar to DJI flamewheel F450- its a cheap copy)
- Flight controller, the thing that controls all the motors.
- 4x Multi-rotor Brushless Speed controllers , they supply the power to the motors.
- Wire, XT60 Connectors.
- Motors.
- Receiver (to receive the signals from the transmitter)
- Zip ties
- Bullet connectors
- Some male to male 10cm servo leads
- 4x Props (mine were included with the motors)
Now with this part list I opened up my web browser and went shopping, aiming to purchased each part as cheaply as possible using eBay or Hobbyking.
Below is a guide on what each part is and its cost.
- Diatone frame Q450v3 (eBay £9.85)
- Naze32 flight controller (Hobbyking £11.96)
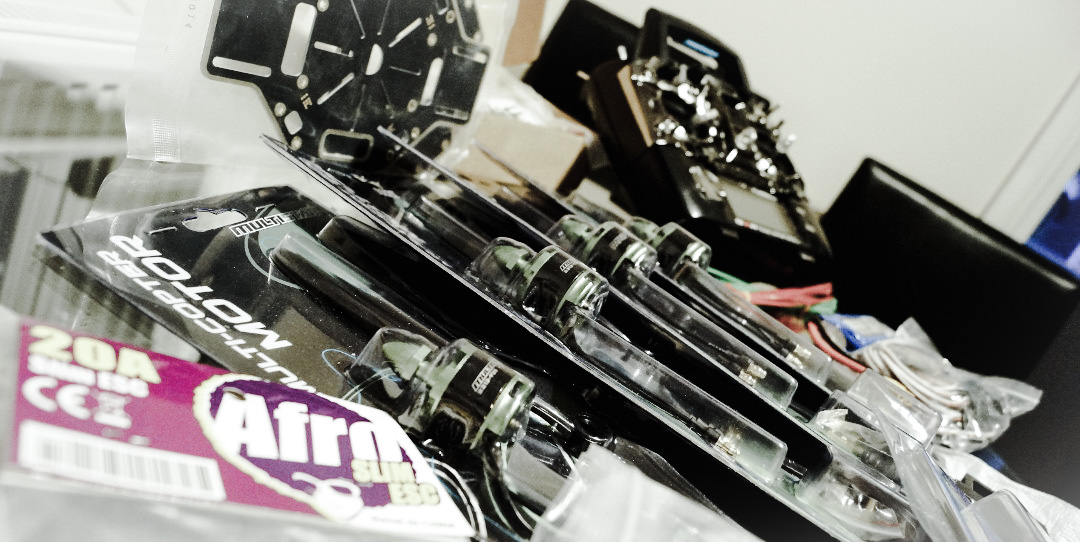
- Afro 20Amp Brushless ESC (ebay, I paid £30 for six, some were used)
- 1m Wire, Nylon XT60 Connectors Male/Female (5 pairs)(eBay £0.98p,£2.42)
- 4x Turnigy Multistar Multi-rotor Brushless ESC Motors (Hobbyking £38.96)
- Orange 620 RX receiver (ebay £14.98)
- Zip ties (Cheap £1 shop)
- 2mm Gold Bullet Connectors 10 Pairs - Male Female Plug Socket with heat shrink (eBay, China ;) £3.88)
- Male to male 10cm servo leads (eBay UK £3.06)
- 5030 Props CW/CCW (Included with the motors.. £FREE)
Once ordered, I sat back and waited for the parts to arrive...
How to build a Quadcopter - Intro Video!
I've actually gone over my stated budget in the video of £80. The total cost here is = £117.09, but I didn't really spent this because I had the connectors,wire,bullet connectors,zip ties and a FrySky receiver.
This is the end but its not finished! I will be adding the rest soon!
- Details
- Category: How to
